01 HOWTO
Load multiple images and select targets
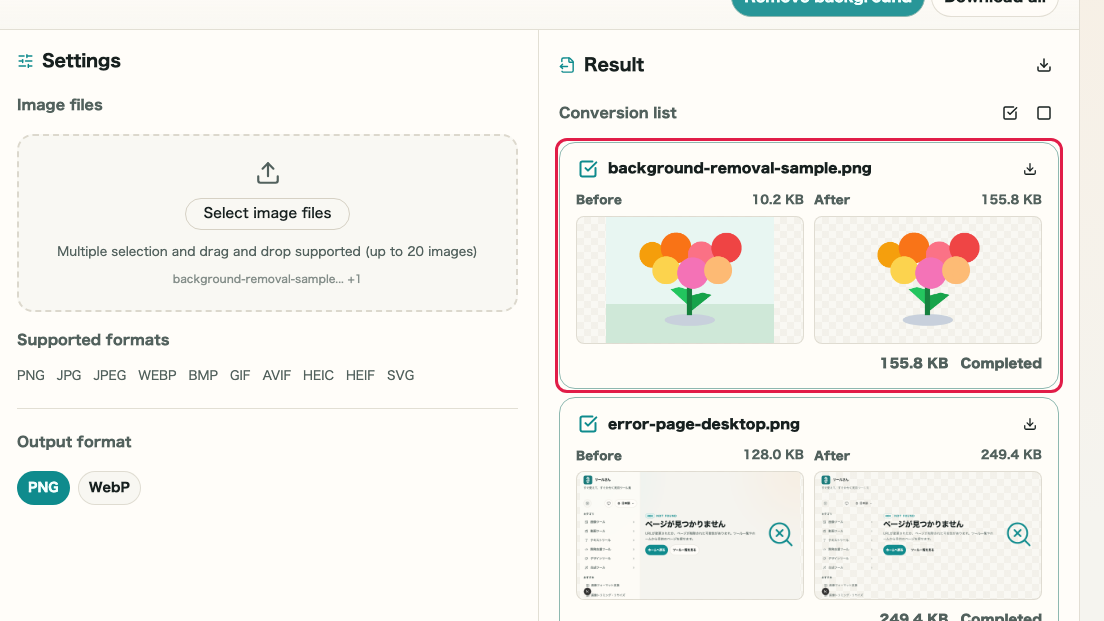
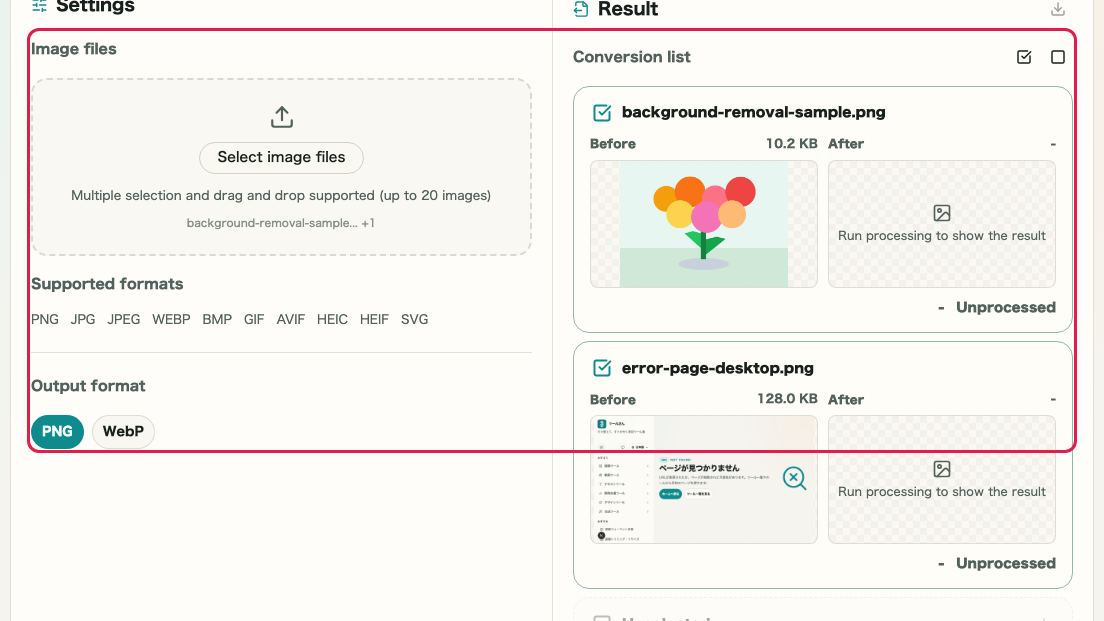
Drop or choose multiple images in the settings pane, then use the checkboxes in the right pane list to select which images to process.
What this area does
- Drop or choose up to 20 images in Settings > Image file
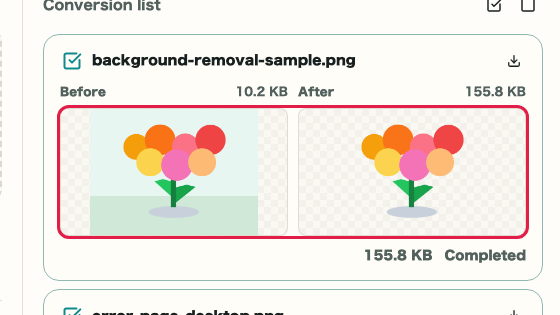
- Review loaded images in the right pane list
- Use checkboxes to select individual images for processing
- Use Select all or Clear selection to bulk-toggle targets
Where to use it
01
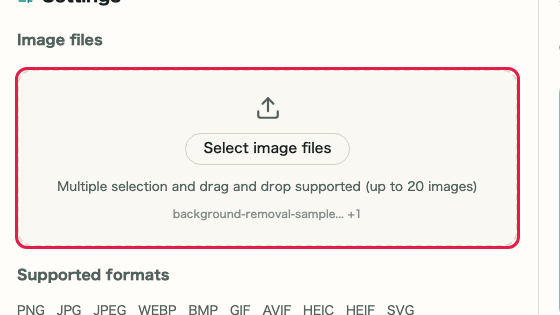
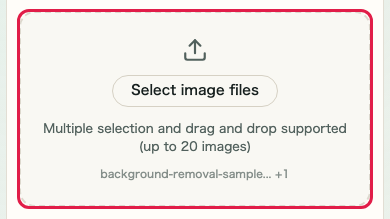
Image file
Drop multiple images onto the left pane drop zone, or click to open the file picker.
02
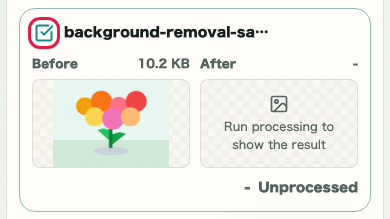
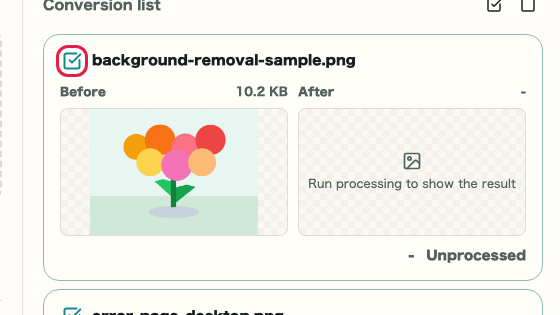
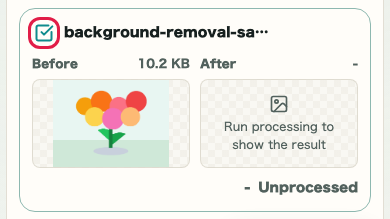
Select targets
Use the checkboxes on each card in the right pane to choose which images to process.
03
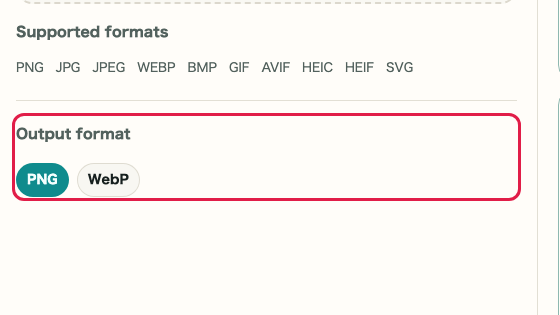
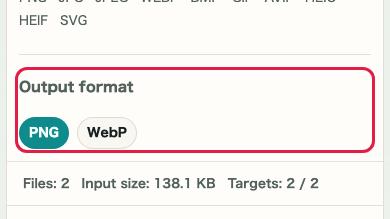
Output format
Choose PNG or WebP in the Output format section.
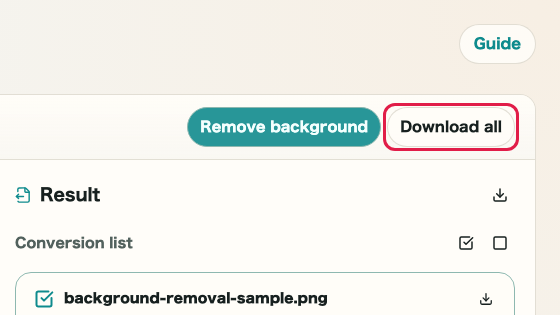
04
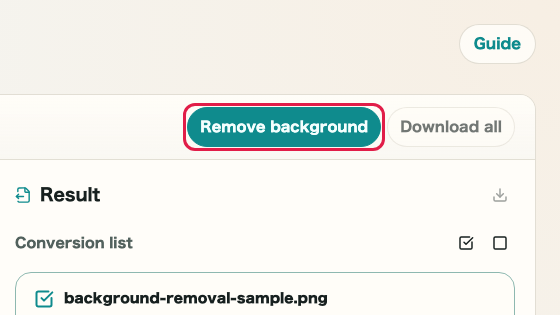
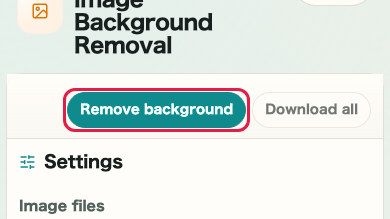
Remove background
Click Remove background in the top toolbar after selecting targets.