01 HOWTO
Load an image and choose the edit mode
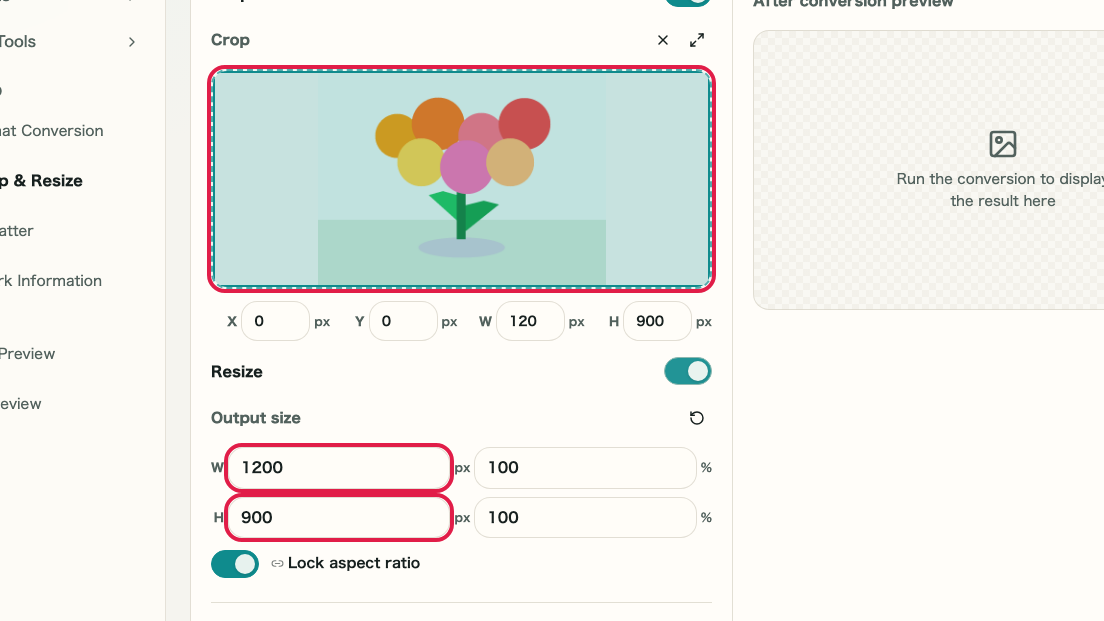
Select an image in the settings pane, then decide whether to use crop, resize, or both.
What this area does
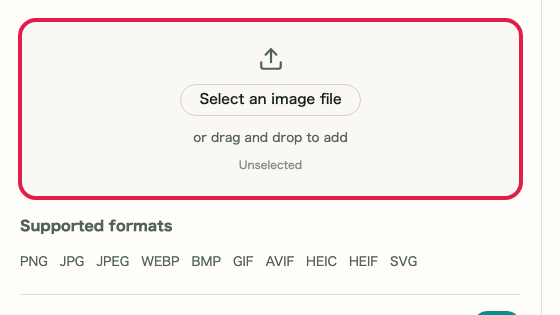
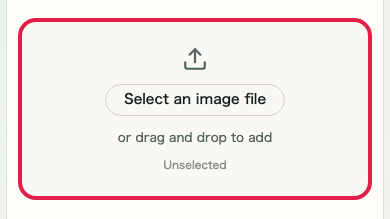
- Load an image from Settings > Image file
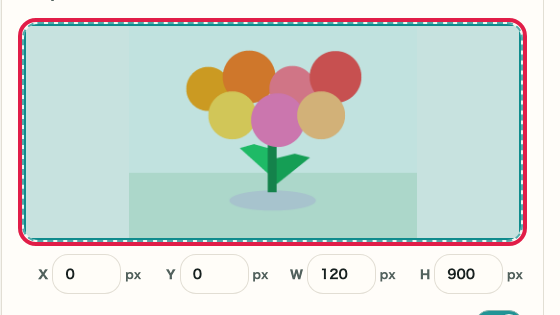
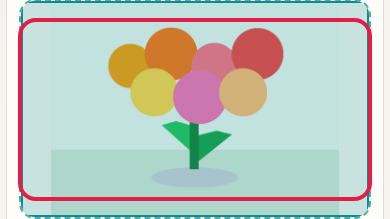
- Turn Crop on or off
- Turn Resize on or off
- Locate output format and quality controls
Where to use it
01
Image file
Choose the image you want to edit in the left pane.
02
Crop
Turn Crop on when you want to remove unwanted areas.
03
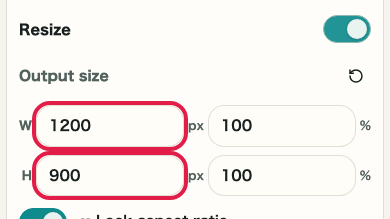
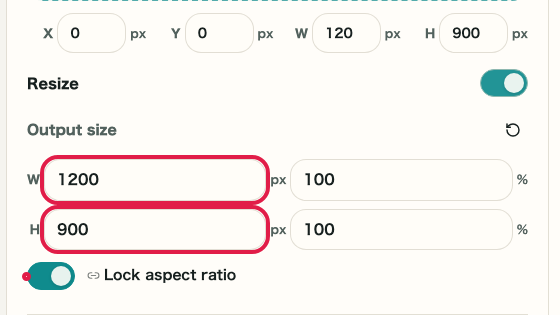
Resize
Turn Resize on when you want to change saved width or height.

04
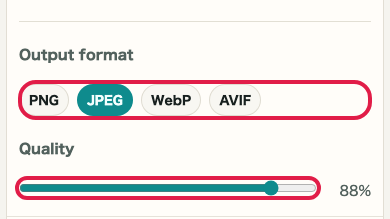
Output format
Choose PNG, JPEG, WebP, or AVIF for the saved image.