01 HOWTO
Add an image and place mosaic objects
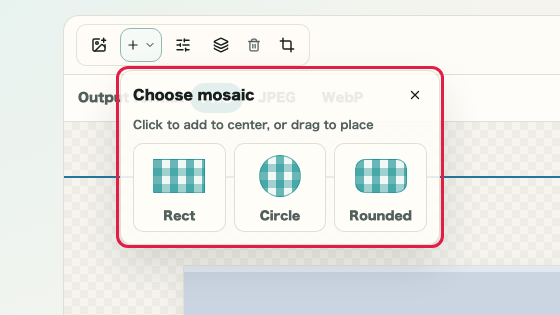
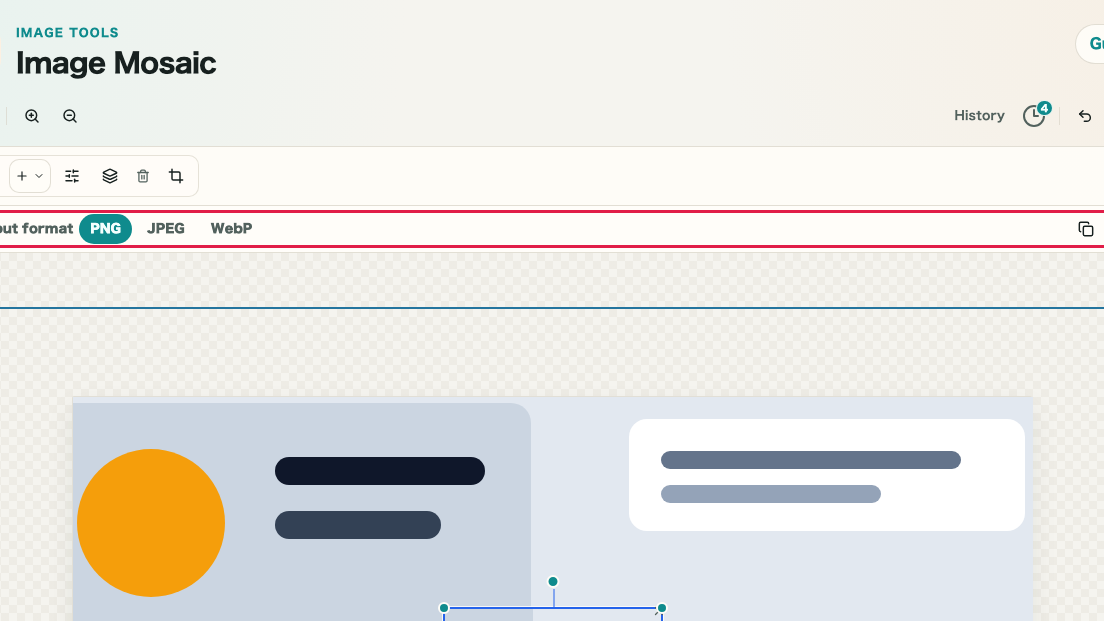
Add an image, then place mosaic objects over the parts you want to hide. Start by deciding whether you need to cover faces, license plates, names, IDs, or other visible details.

What this area does
- Add an image to the canvas
- Confirm the image appears on the canvas
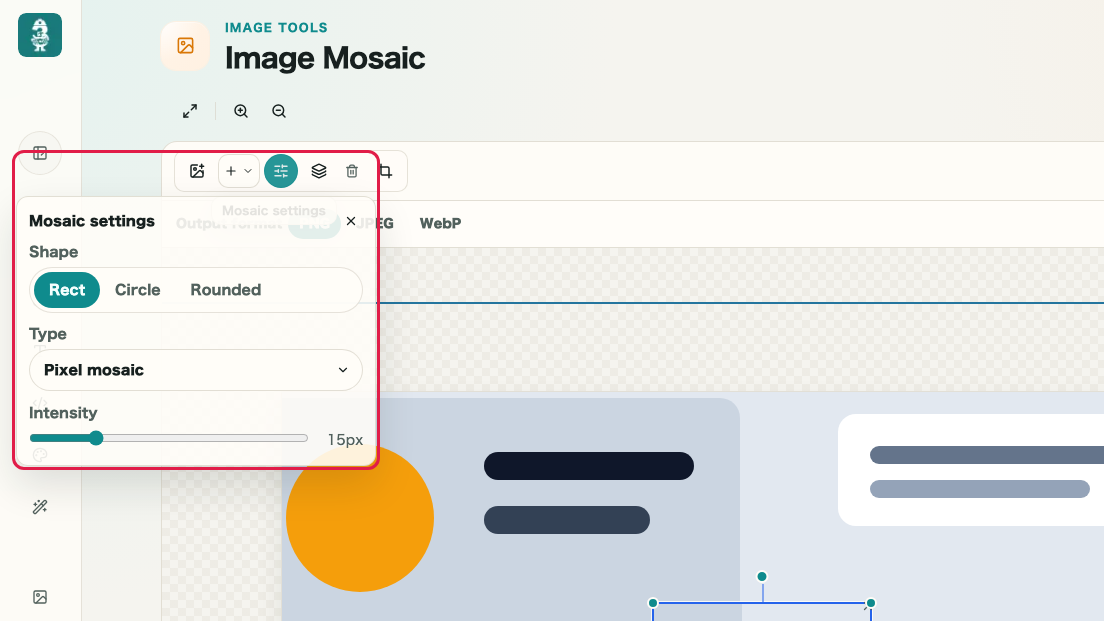
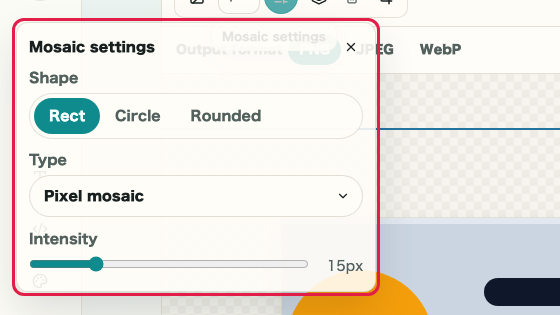
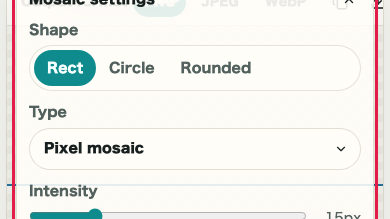
- Place rectangle, circle, or rounded mosaic objects
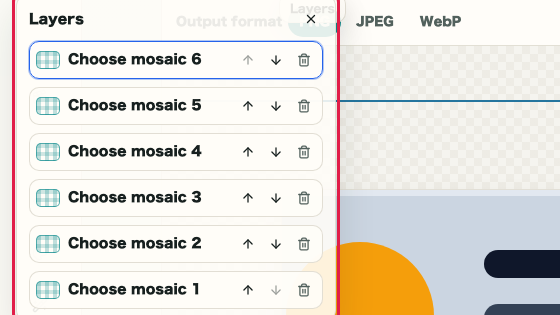
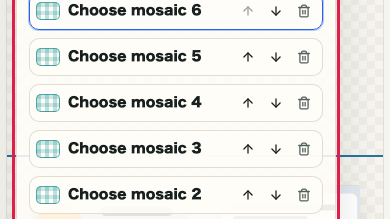
- Identify which placed object will be processed
Where to use it
01
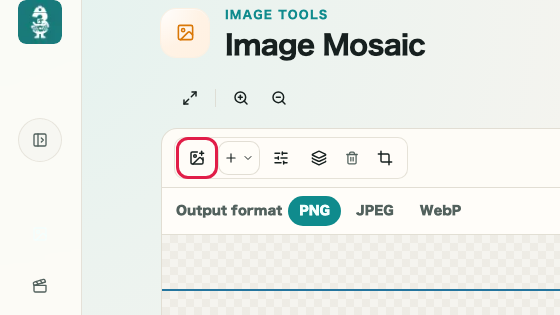
Add image
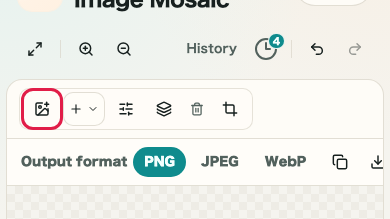
Use Add image in the toolbar to load a photo or screenshot.
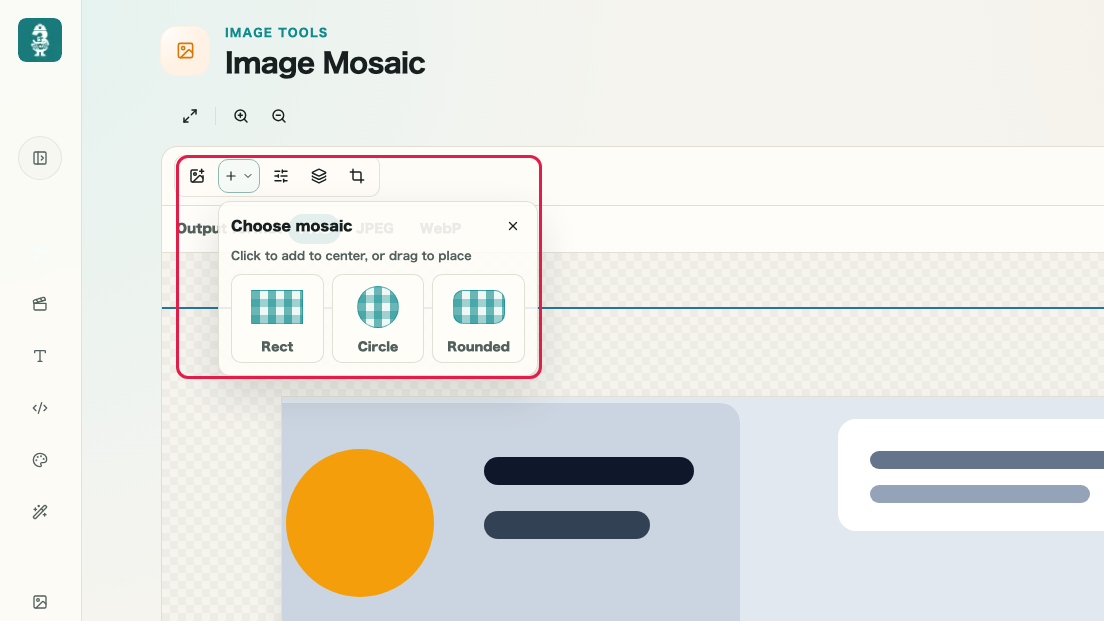
02
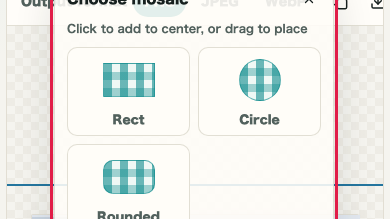
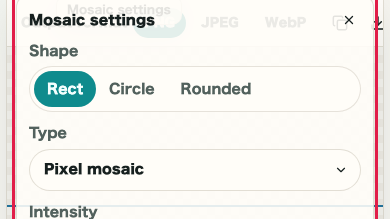
Add mosaic
Open Add mosaic, choose a rectangle, circle, or rounded object, and place it over the detail you want to hide.